 Painting walls seems like an easy task… you’re thinking, how hard could it really be? There’s more work than meets the eye and before you crack open your first paint can it is worth taking a day for prep.
Flaking, roller marks, drips and bubbles are just some of the paint problems you’ll want to avoid. There’s nothing worse than a paint job done in haste and failure to prepare properly will give you a disappointing result that you’ll regret.
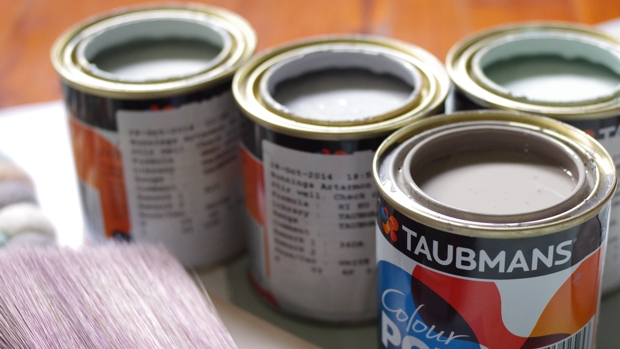
Here are some quick painting tips we gleaned from the professionals at Taubmans. They’ll help you to maximise your time and energy, and most importantly, get that beautifully painted wall.
Tip #1: Start with a clean slate
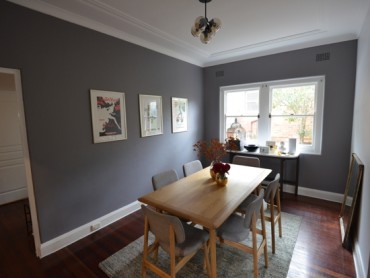
It’s essential to clean all walls and surfaces properly before you start painting – even if the walls don’t look dirty. Our open plan kitchen no doubt has added residue to our living room walls, which can stop the new paint from properly adhering to the surface. Grab a clean bucket and use a big soft sponge dipped in detergent water to clean.
Timber trim, doors and shiny surfaces might need to be dulled with sanding. If you have wallpaper you may need to patiently strip it (we hired a wallpaper steamer to help with the tedious removal) and prep with an oil-based undercoat as adhesive might stick around, which can cause water-based paint to crack.
Tip #2: Prep your surface
Don’t underestimate the time and importance it takes to prepare surfaces, and how rewarding it will be with a smoother and more even finish.
Look out for mould or mildew, water stains, flaking or peeling paint, and cracks. Remove all loose or flaking paint and wash all areas thoroughly to remove any surface contamination. Treat surfaces affected by mould with chlorine bleach diluted one part bleach to four parts water and rinse clean with fresh water. Fill any holes and cracks with rapid filler.
Tip #3: Choose the right paint for your project
Consider the type of surface and what is the purpose of your painting? You’ll need different paint for interior or exteriors, and another for your trims, doors and ceilings as each have varying degrees of wear and tear resistance. We’re using ‘low-sheen’ for our interior walls, as with a soon to be mobile toddler this texture is best for washability and durability.
Tip #4: When in doubt, use a primer
Half way through our painting project this is the tip we’re most grateful for. Tinting your primer with the same colour as your finish coat ensures a lasting finish and is a great time saver. By tinting the primer you can reduce the number of coats needed to achieve your desired hue.
Tip #5: Tackle the tricky spots
Start by painting the middle of the ceiling working outward towards cornices and finally the edges where the wall meets the ceiling.
While rollers are great for painting a majority of your ceiling and walls, you should rely on a brush for the edges. With the ceiling done, move onto your walls then doors, trims and window frames.
If you’re painting a wall with a window always remember to start away from the main window and work towards the light. When painting trims, use a brush and work along the skirting before moving onto the doors and window frames.
Tip #6: Master your technique
Technique can elevate your paint job from mediocre to masterpiece. Ensure that you’re getting an even coat by painting one small area at a time (too large and you’ll end up with a streaky look known as overlapping). Use your roller to distribute the paint until the roller is almost dry. Repeat until the whole wall is covered then go back over the area in long even strokes to create an even finish.
Good luck, and don’t forget to dispose of your paint responsibly.
Keep following my Taubmans Colour series project. In part 3 of our journey we’ll be sharing Room Styling Tips from Shaynna Blaze.
This message is sponsored by #ColourMyRoom instigators Taubmans


